Tuesday, June 25, 2013

72-Hour Kit Water

Sorry about the delay in posting, but with the combination of traveling and hectic work days, this post had to be just a tad late. But now we can move on to water - the most important item of a 72-hour kit. You can survive for a while without food, but with no liquids coming into your body, you won't last very long.

So for the next two weeks (technically from June 23 to July 6) we want everyone to focus on obtaining 3 days' worth of water for each member of the family.

There are multiple resources for water, and you may not want to choose just one. For starters, there is the simple water bottle, which you can buy a 24 to 30 pack of water bottles at Wal-Mart or some other store for $4.00. What's nice about these is they're not hard plastic, so they can be slightly molded or squeezed into tight fits. This means that if you are squishing and smashing them they will have to be rotated pretty often (we suggest every 6 months), but since much of the food needs to be rotated as well, then it wouldn't be any more difficult.

Another option is canned water. This makes the water container more durable, but unfortunately it weighs more and takes up more space since it can't change shape at all. It also has a longer shelf life in a can, which can go up to 30 years. It is also pricier, with the exact numbers depending on where you buy it. Also, the canned water would require a can opener for your 72-hour kit - not necessarily a bad thing, but another factor to consider.


Finally there are water pouches. Many who sell these say it's best to use the water within five years, so the shelf life is medium. They are much lighter and easier to fit in small places, but again, even though the pouch is pretty durable, it can still be pierced or ripped in the right circumstances. Emergency Essentials will sell a 4 oz. pouch for 35 cents each, so the price is very doable.


Another option for liquids is to actually use something other than water. Options like Gatorade or Capri Sun are good to add flavor and sugar to a 72-hour kit. Sports drinks like Gatorade and Powerade are especially good because they can replace the electrolytes and other minerals your body loses throughout the day. A 12 pack of Gatorade can be found in Wal-Mart for only $6.00, and often Powerade can be even cheaper.


There is also the option of water purifiers. These can be very handy in an emergency situation, and there are multiple ways to add it to your 72-hour kit. However, we do not want to overwhelm you with information at the moment, so we will wait to add a separate post about water purifiers at the beginning of next week (which will still be the middle of the allotted time for gathering water). So until then, good luck on collecting your water, and let us know any questions or ideas you have!


Do any of you have specific preferences for how you add water to your 72-hour kits? Feel free to discuss!

Monday, June 10, 2013

72-Hour Kit Food

Alright, so now that we've got IDs and a container for our 72-hour pack, we're going to spend the next two weeks working on getting our food supply!

As with everything we will talk about, there are several options for what you can store in your 72-hour kits for food. We've detailed some of the pros and cons of some different options so that you can determine what is best for you and your family's needs:


MREs
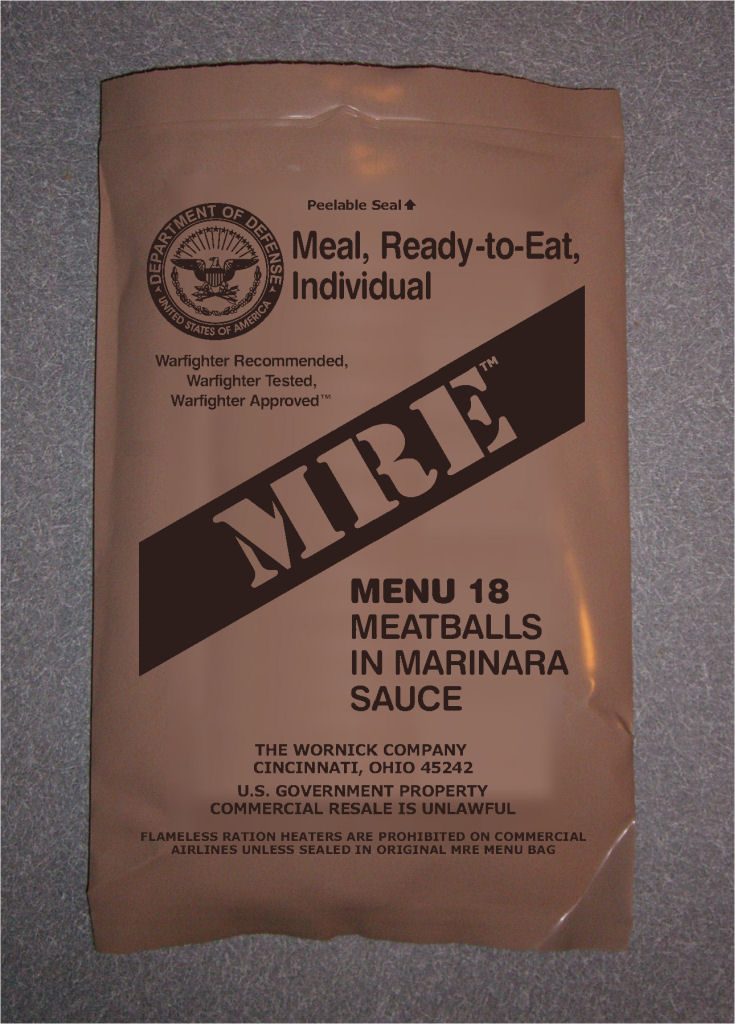
One of the easiest items to store for food is the MRE, or Meal Ready to Eat. These are meals designed for the military that can be eaten without any water or preparation. This comes in handy when water sources are scarce (and you won't be able to reconstitute dehydrated food), or when there is no way to cook due to lack of fuel, electricity, or other means to cook. The convenience does come with a trade-off: expense. MRE's are more expensive than their counterparts, but have a long shelf life and are ready to go no matter what the emergency is.


Cans/Boxed Goods
A cheaper and more familiar alternative is to use canned or other non-perishable goods. The food items should be easily edible, meaning little to no preparation required. Cans of soup, chili, or other prepared canned meals are good starting points. These items are also convenient since they are easy to rotate. If you check these items every 6 months, then you can be assured that the food in your 72-hour kit is always fresh. One of the biggest downsides to cans is their weight - if you plan to carry your 72-hour kit anywhere, the weight of cans definitely adds up. As for boxed goods, one of their biggest downsides is their lack of durability - they aren't as strong as cans and are very non-waterproof. However, boxed goods are much better if the goods are inside a plastic bag that is in the box.


Remember, IF YOU ARE USING CANS, YOU WILL NEED A CAN OPENER! Go to the dollar store and buy a cheap can opener that you can just keep in your 72-hour kit, that way you will never be stuck in a situation of having canned food but no way to open it. The other option would be to have pop-top cans. That would mean you wouldn't need a can opener, but pop-top cans are also slightly less durable and the tops could come off with enough force. 


Emergency Rations/Calorie Bars
These 3-day Calorie Bars come in a small brick and have enough calories to sustain life for 3 days. With a 5 year shelf life and little cost, these are an effective way to make sure you will at least survive for 3 days since they provide the basic nutrition you will need. The main trade-off with these is taste. In an emergency, many people would prefer to be opening a can of soup or something similar as compared to eating a 400 calorie protein bar, but again it is a cheap and effective way to insure survival.


The bottom line, it is vital to have enough food to survive for 72 hours. No matter what option you choose, make efforts to collect 3 day's worth of food for each member of your family over the next 2 weeks.

Monday, June 3, 2013

72-Hour Kit Container and IDs

So the first thing you need when making a 72-hour kit is somewhere to put all the supplies. We will be focusing on obtaining containers and IDs for every family member this week. There are multiple options, and we'll discuss the pros and cons of a few of them.

The Backpack. A backpack can be anywhere from extremely cheap to pretty pricey. Using a backpack can allow for your 72-hour kit to also become a flight kit - if you need to get out of the house immediately, you can just grab it, put it on your back, and get out with your arms still free. Also, you don't have to worry about weight as much as other containers because it distributes the weight between your shoulders and back. If the backpack has multiple pockets it can also help for organization. One thing to think about when getting a backpack is it not as durable and more susceptible to wear and tear.


The Duffel Bag. Duffel bags are pretty similar to backpacks, but they are often more expensive (thought you can still get one for pretty cheap). Duffel bags can also usually allow for more room, so you may be able to hold more things. When carrying the duffel bag, the weight is either on one shoulder and the back (this is neither good nor bad, it just depends on personal preference), or it must be carried in one hand.

The Bucket. Buckets are usually pretty cheap and don't get extremely expensive. Using a bucket allows for more durability in your container. However, it isn't as organized without different compartments, and it also isn't as portable in a hurry. If you have to carry it around, it leaves you with one less hand and it can be heavier for just one hand to hold.


The Plastic Tote. Plastic Totes are like the duffel bag of the backpack category. They can be bigger and hold more things, they are also quite durable, but they may be more expensive. The plastic tote is likely the hardest container to carry as it usually requires both hands.


After deciding which type of container to use for a 72-hour kit, it is a very good idea to add some type of ID to each of them. This doesn't need to be (and probably shouldn't be) a government issued ID, but instead something to let others know how to help. For example, if a child is lost or a family member is unconscious, someone trying to help can still do so by knowing either food allergies, medical conditions, family members' names, etc. One really neat idea we found just on the internet is to include a picture of each family member with the ID. That way a child can have help finding family if he or she is lost, and it can also serve to calm the nerves to see pictures of loved ones.


At this point, if you cannot yet obtain a container or need more time, a cardboard box is honestly just fine. You will want to work up to a more sturdy and reliable container, but anything is great to start out with. The IDs, however, would be beneficial to complete as soon as possible. (As a reminder, we have a link to the IDs and items of a 72-hour kit here)


Good luck with getting the containers and IDs together, and let us know how it's going for you! (next week we'll focus on food for 72-hour kits)